|
Oh Baby, It's HOT Out There!
|
It is far too hot today to garden so I'm taking the opportunity to write about it instead. I've taken photos of the garden twice in the last few weeks and not gotten around to writing up a post and I didn't want to spend any more time than necessary out there so today's tour is actually about the garden about a week ago.
Bed #1 is where the squash are growing this year. And there's a couple of volunteer kale plants that are likely a cross between kale and some other brassica. Tatume is on the trellis on the right and Tromba d'Albenga is on the left. The Tatume vines are super rapant growers and this photo was taken after I had cut back the vines that I had allowed to wander into the front of the bed in the right foreground. Then in the cool and foggy interlude that we enjoyed between this heat wave and the one a couple of weeks ago the vines became severely infected with powdery mildew so now the trellis is looking a bit sparse after I cut off most of the infected leaves. The Tromba d'Albenga vines in the meantime are thriving. They are more resistant to powdery mildew and most years they are the last squash standing in the garden and in some years have produced into November.

The San Pasquale zucchini in the foreground is a worthy successor to my old favorite hybrid Romanesco zucchini. One plant has put out multiple branches (vines?). It is fairly resistant to powdery mildew but I did have to trim out a number of infected leaves this week. I'm getting anywhere from 1 to 3 zucchini a day from the plant.
I put in one Tetra Delicata squash plant, a variety that is multi-purpose with both the immature and mature squashes edible along with the tender young vines. Well, I thought it was going to be a big vigorous vine like the Candystick Dessert Delicata squash that I've grown in the past but it turns out that it is only semi-vining and not a very rampant grower. So I got one immature squash and then it set only 2 more squash that I'm allowing to mature.
These wispy little vines are the Jamaican Burr Gherkins that I've been showing on a few harvest posts. They put out a steady stream of a few small cucumbers a day which is perfectly fine with me. They seem to love the heat and put on a big growth spurt during the last heat wave and then slowed down in the foggy interlude and now they seem to be zooming again.
Bed #2 is where the solanums are growing this year. The tomato plants are getting to the top of the trellis and the pepper plants have filled out.
The eggplants have matured and are setting a few small fruits.
Peppers are starting to ripen.
 |
Gogosar
|
 |
Odessa Market
|
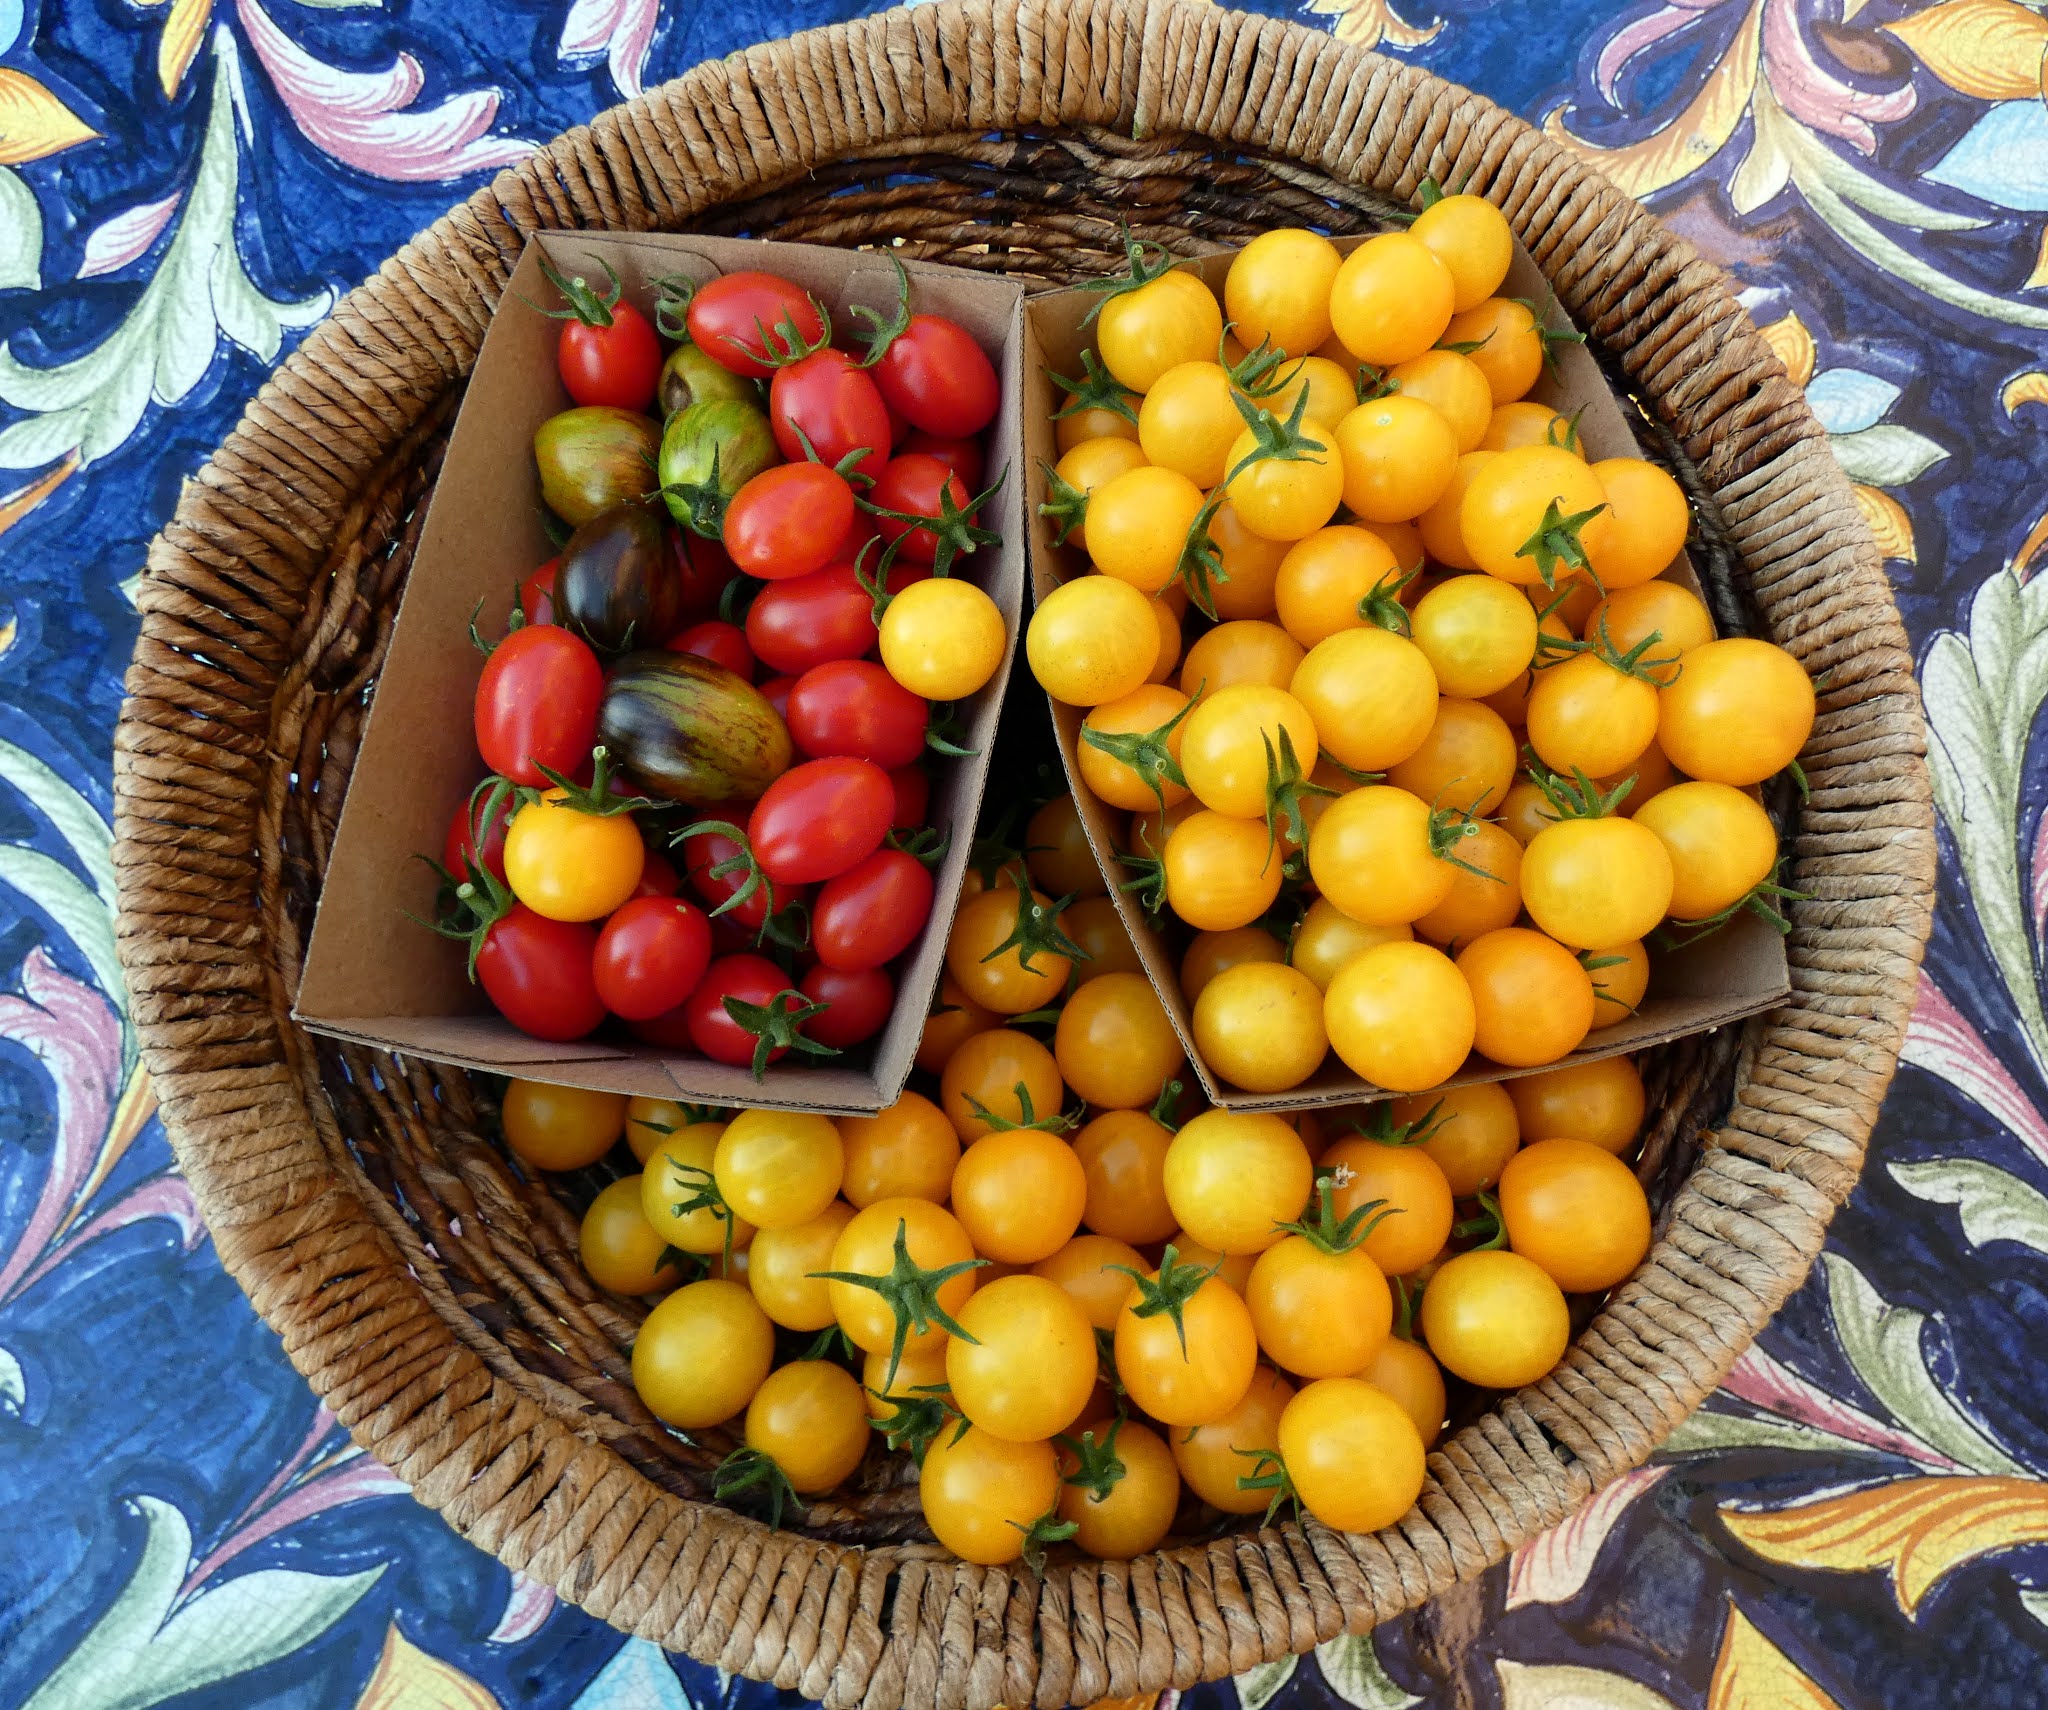
Cherry tomatoes are ripening in abundance now. I cut out leaves as I harvest to expose the ripening tomatoes to the morning sun and to make it easier to harvest. Removing the leaves also allows more air to circulate when helps to cut down on foliar diseases. And it looks great too!
This end of the bed is where I've been growing successions of Speedy arugula. Three or four days ago I sowed more seeds to the left which have already germinated (6 year old seeds!). I also harvested about half that patch on the right the other day (which I didn't get around to photographing). The arugula grows so quickly in the summer that I just harvest the entire plants, once they get to the size you see below they are on the verge of bolting, especially when it gets HOT like it is now.

I only got around to prepping two thirds of Bed #3 this year and only one third of it is planted with anything productive now. Only beans. The trellis in the rear has 4 varieties of snap beans which have been producing through most of the summer. To the left is a planting of Marcella's beans which I got from Rancho Gordo, they are a variety of cannellini bean and are supposed to be more tender than the usual type. On the right are some bush snap beans that I hope will be producing when the pole snap beans finally peter out.
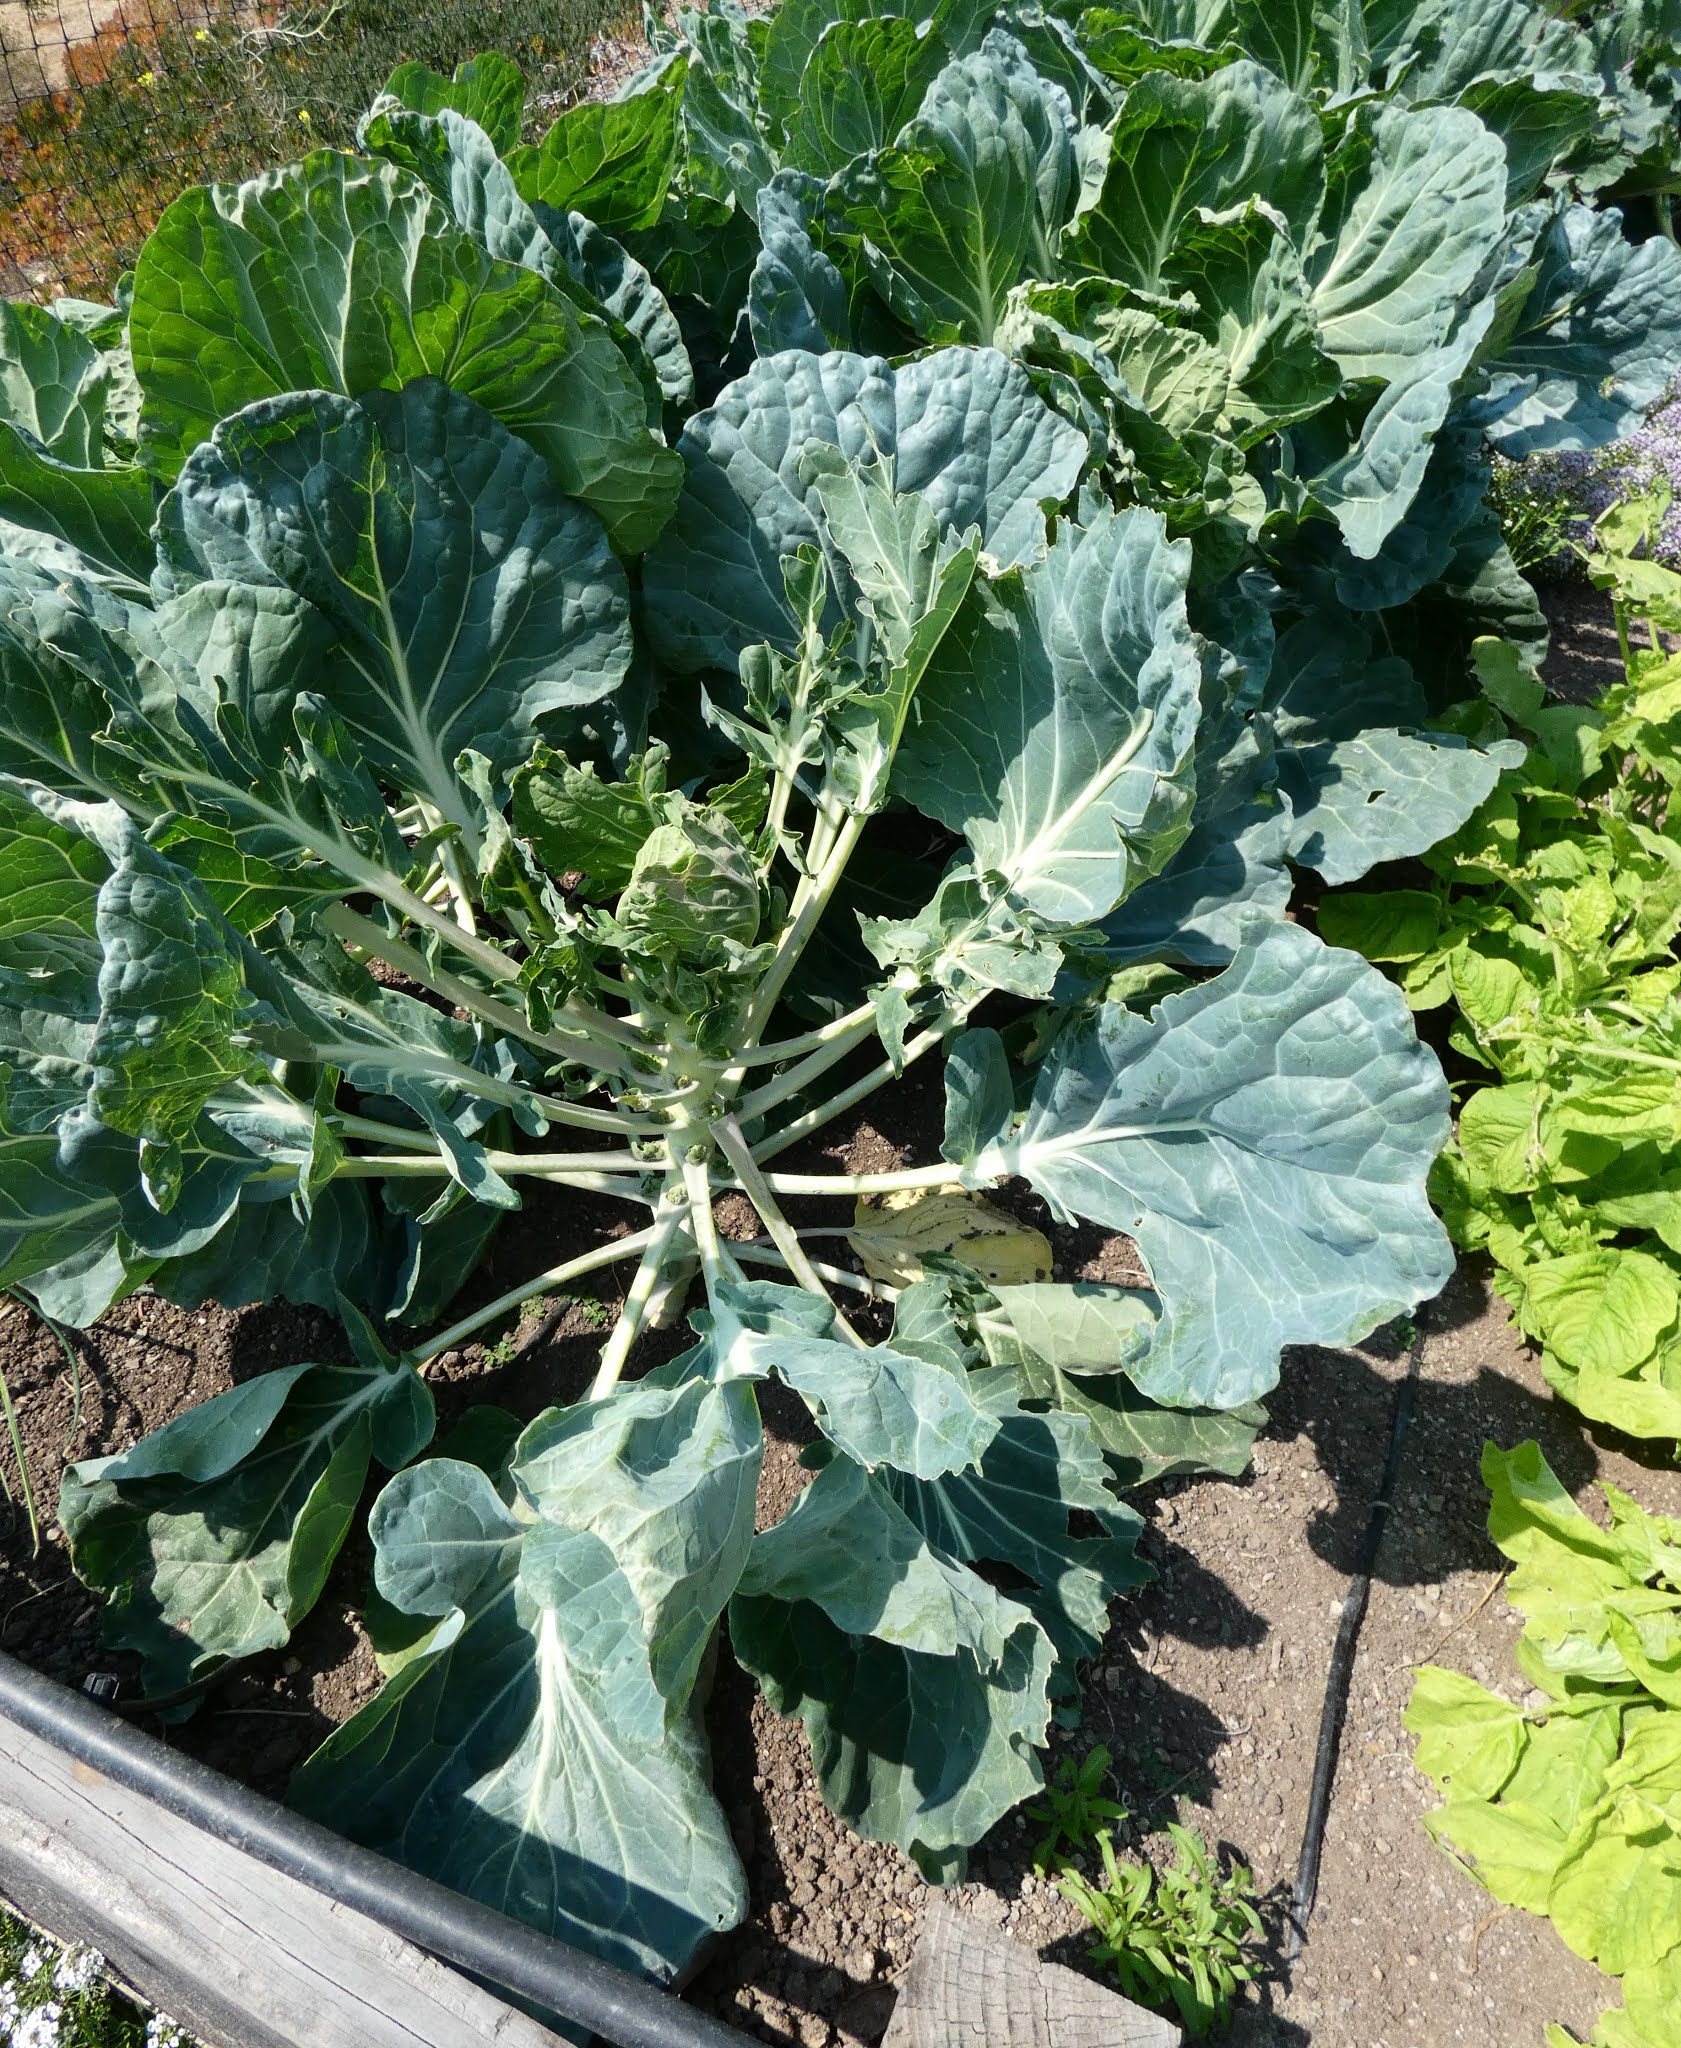
Bed #4 is home to the winter brassicas. In the foreground are a couple of Yellow Cabbage collards and just behind those are a couple of Purple Moon kale. Beyond that are broccolini and broccoli plants. On the right in the far corner are kalettes and beyond those are Brussels sprouts.
Broccolini heads nearing harvest time.
Broccolini "harvested" by a ground squirrel. Grrrrrr.....
Yes, I have a new pest to contend with. As if rats and mice and voles haven't been enough of a challenge, now it's ground squirrels. One of them decided to sample the tender young greens on most of the plants. Fortunately it munched young leaves and didn't (hasn't yet) attacked the crowns of the plants (other than that broccolini). My broccoli plants are just starting to develop heads which I'm fearful for. I've taken to liberally dusting all the plants and especially the crowns and developing heads with pulverized hot Thai peppers. The munching has stopped but their efforts to dig burrows amongst the plants has not. Today I put hardware cloth in the spots that they like to excavate. Dang it, if it isn't one pest it's another!
 |
Squirrel Ravaged Kalette Plant
|
 |
Brussels Sprouts Plants Attacked By Squirrel
|
The one non-brassica veggie that I'm growing in the bed is a couple of varieties of Amaranth that I grow for the greens. Thai Tender is in the back and Tender Leaf is in the foreground. I prefer the Tender Leaf variety and the only source that I have for the seeds is now out of business so I hope to get these plants to full maturity so I can save the seeds. Unfortunately, the squirrel has found amaranth greens to be to its liking.
So that's the state of my garden now, actually a week ago, but things haven't changed a lot since then.
I will close with a photo that I took of the garden when the smoke from the River and Carmel fires was at its worst. There's some hills out there somewhere!
And for comparison, the view on a clear April day.